Blockchain in a Box

or: How to earn 2000 Ether in less than 20 minutes
 For the past few month, I have been working with Subutai, and I thought I would have a look at some of the possibilities with my engineering glasses on.
Subutai is an Open Source Peer to Peer Cloud platform and while open source cloud stuff have been seen before (Docker for example), Subutai is promising some quite unique features and possibilities.
A few days back on the official Subutai Blog, the founder and CTO of OptDyn (the company behind Subutai) Alex Karasulu made a new blog post. In that blog post, he mention:
Perhaps the most attractive application blueprint is our just released Blockchain-in-a-Box, which offers a private blockchain with a full development and test environment for Solidity Smart Contracts (available now on the Bazaar!). Over the next few releases you’ll see more new features that will make the P2P cloud irresistible.
Well, while the idea definitely wasn’t mine, I am the guy responsible for any and all bugs and quirks in that blueprint, so let me walk through what it does, and what it can do, starting pretty much with nothing but a browser and a working Internet connection.
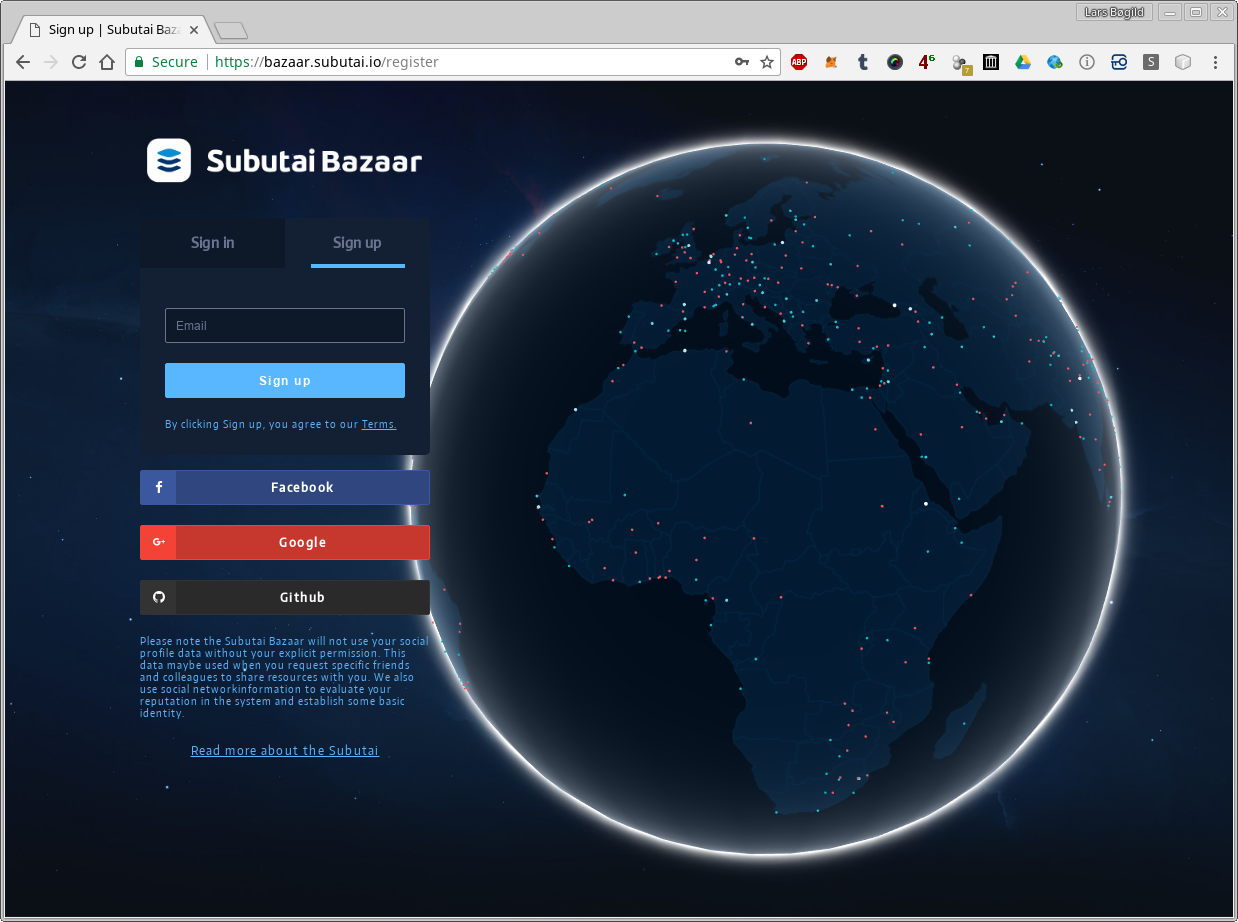
First step is signing up on Subutai Bazaar.
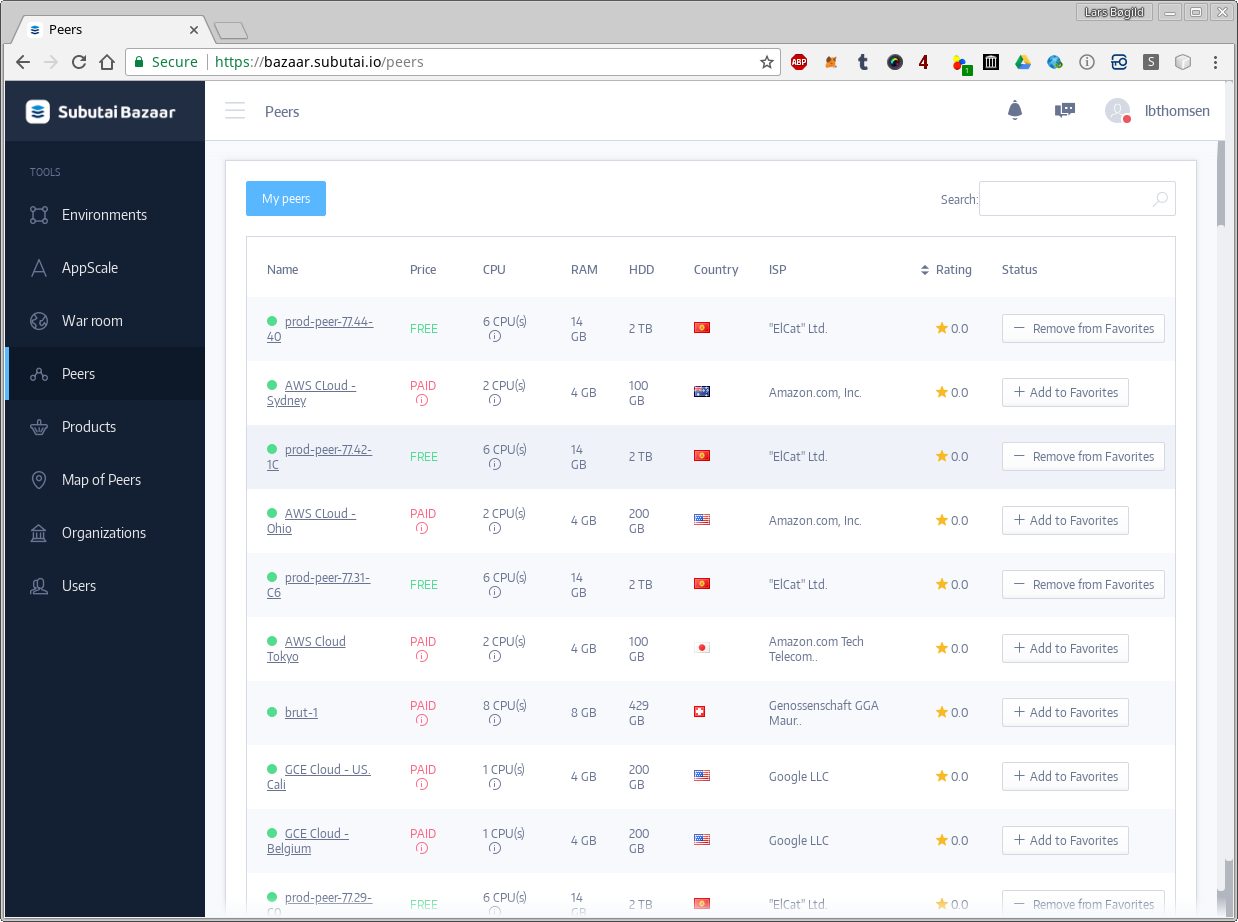
Once signed up and logged in, a Peer is needed to install our Blockchain in a Box.
Blockchain in a Box is quite a resource demanding blueprint, so ideally it should be run on a private Peer. Subutai does provide a number of free peers, so for this walk through I will be using one of those. Head to the Peer section in the left sidebar and select one or more peers as favorites.
Once a few peers has been added as favorites, head over to the “Products” and select the “Application Blueprints” tab. On the Application Blueprints, select the “Blockchain in a Box”:

Once clicking on the “Build” button, a dialog of settings will be shown:

Let me briefly run through these settings.
The first “ethereumPassword” is the password for the first account on a Private blockchain. The value is ignored if either testnet or rinkeby is used.
The “ethereumNetworkId” is the id of the blockchain if a private blockchain is used.
The “ethereumNetork” can be set to either “testnet” (Ropsten), “rinkeby” or “private”. If private is selected, network id and password _must_ be set.
The “environmentName” is – well – the name of the environment (doh!). You can only have one environment with a specific name so this is most relevant when deploying more than one.
Finally the “containerSize”. It can be selected between “LARGE” or “HUGE”.
When done filling in the options, click “Start”.
On the next screen, ports can be exposed. The Blockchain in a Box blueprint doesn’t expose any ports, so click “Next”.
On this screen a Peer must be selected. Blockchain in a Box uses only one peer and Subutai Bazaar will already have selected the best of the available peers:
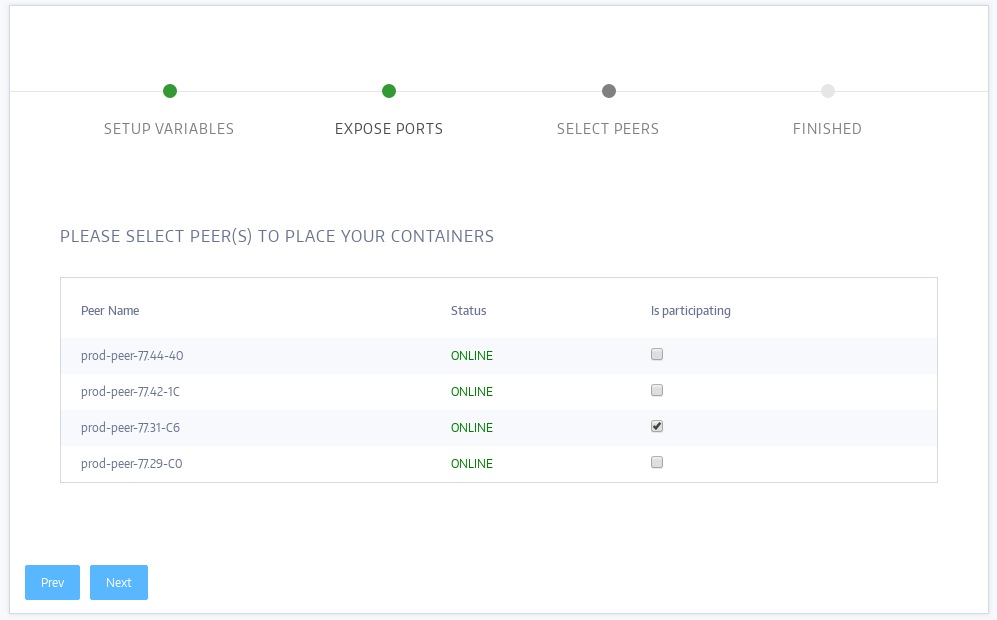
Click “Next” and on the final screen, click “Finish”.
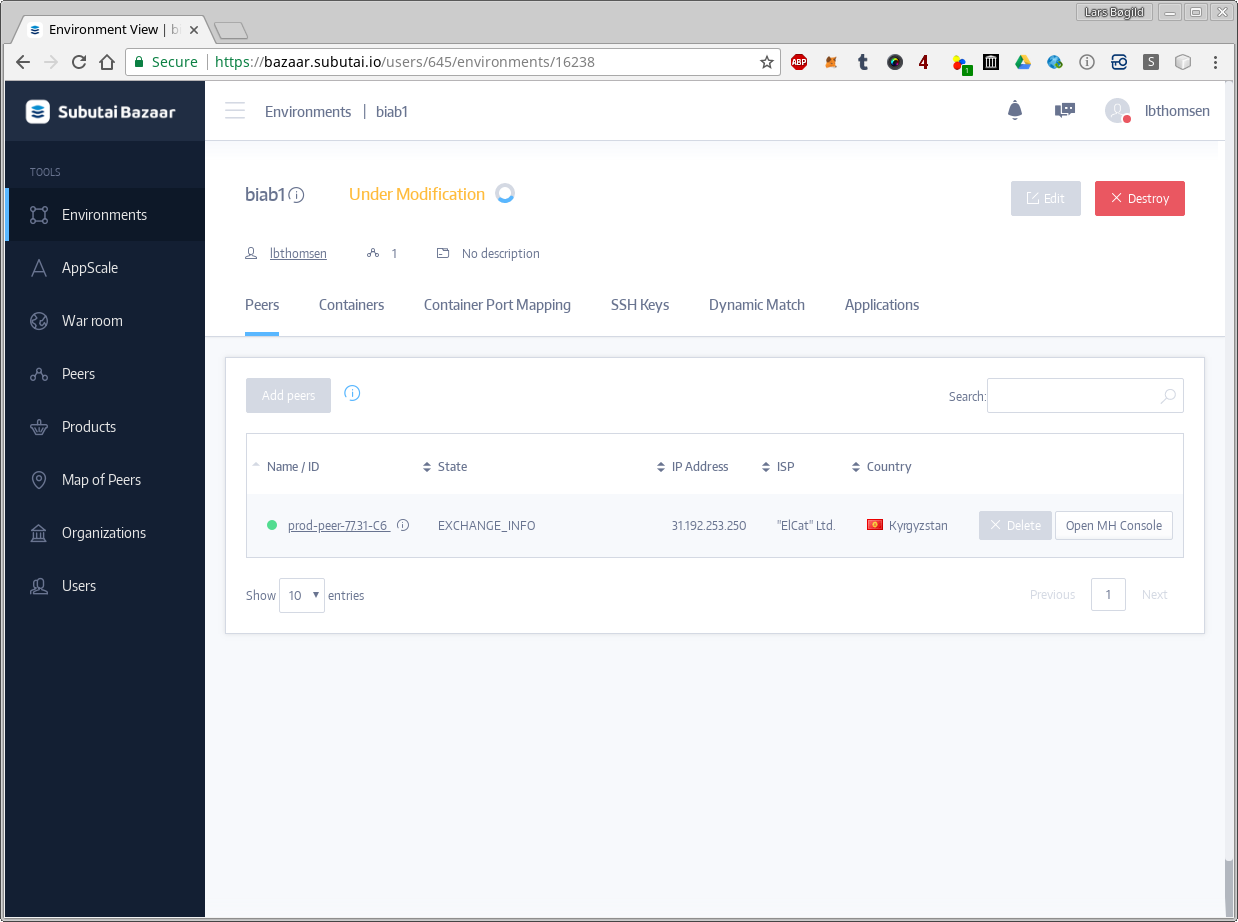
Subutai will now build the “Environment”. The environment will consist of two containers:
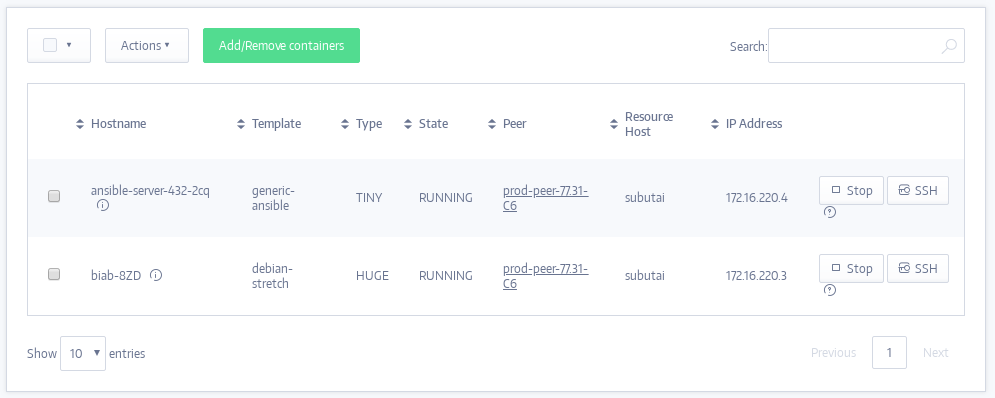
One of these containers will contain the actual Blockchain in a Box, while the other (ansible-server) is responsible for running Ansible.
The build itself will take a while (I have seen 30 minutes on my own private peer with a slow Internet connection and perhaps 10 minutes on a peer with a fast Internet connection).
Once the Ansible playbook has been fully executed, we can use the Subutai Control Center to access the Blockchain in a Box:

To verify that our private blockchain is indeed running and mining, double click on the “Mist” icon on the desktop:
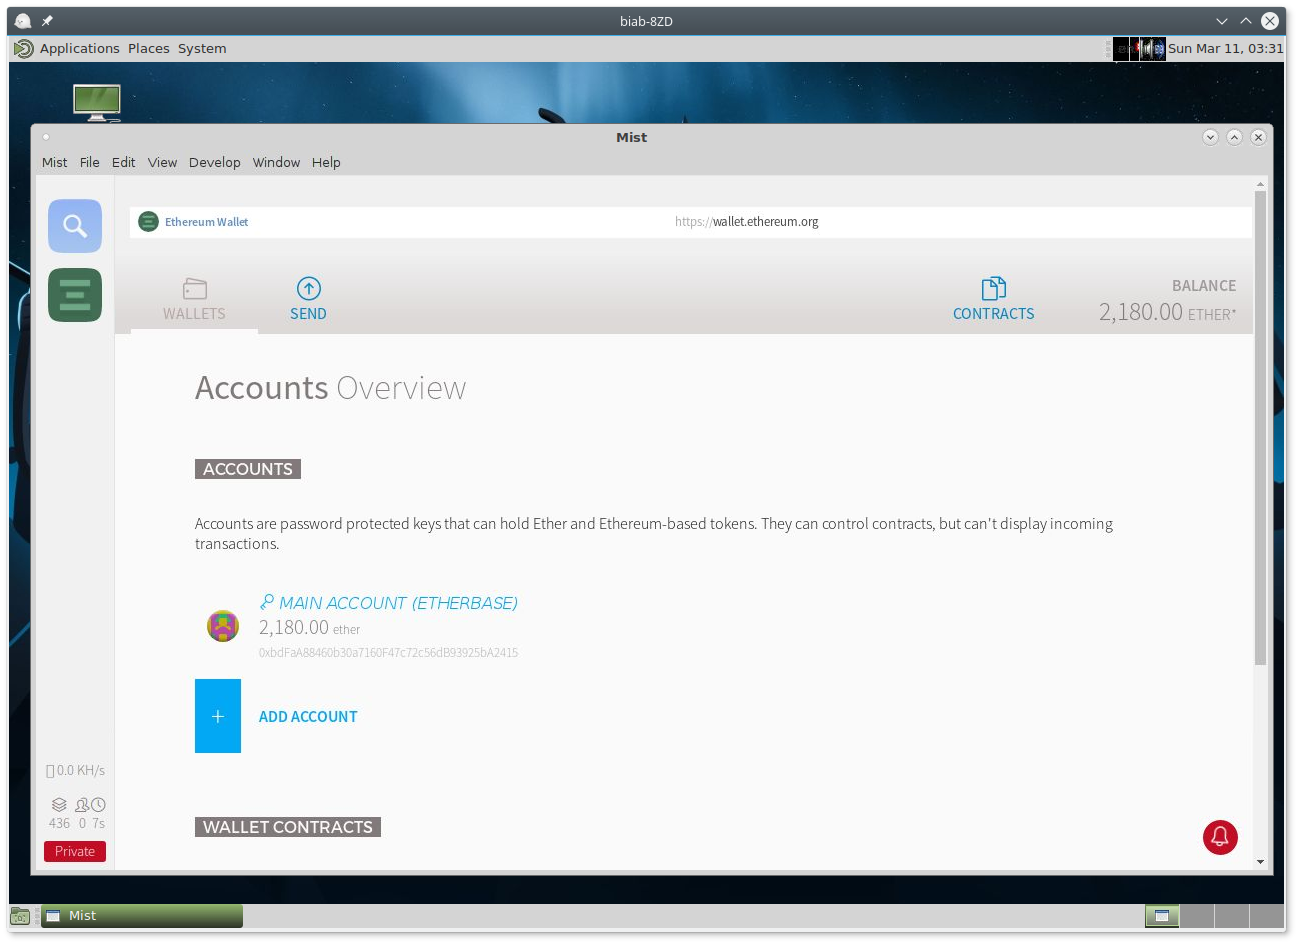
2180 Ether in less than 20 minutes! Only with Subutai! Too bad they are not real, but I am sure they will figure out how to do that too 🙂
In the next post I will write more about how to actually develop a smart contract on this private blockchain.